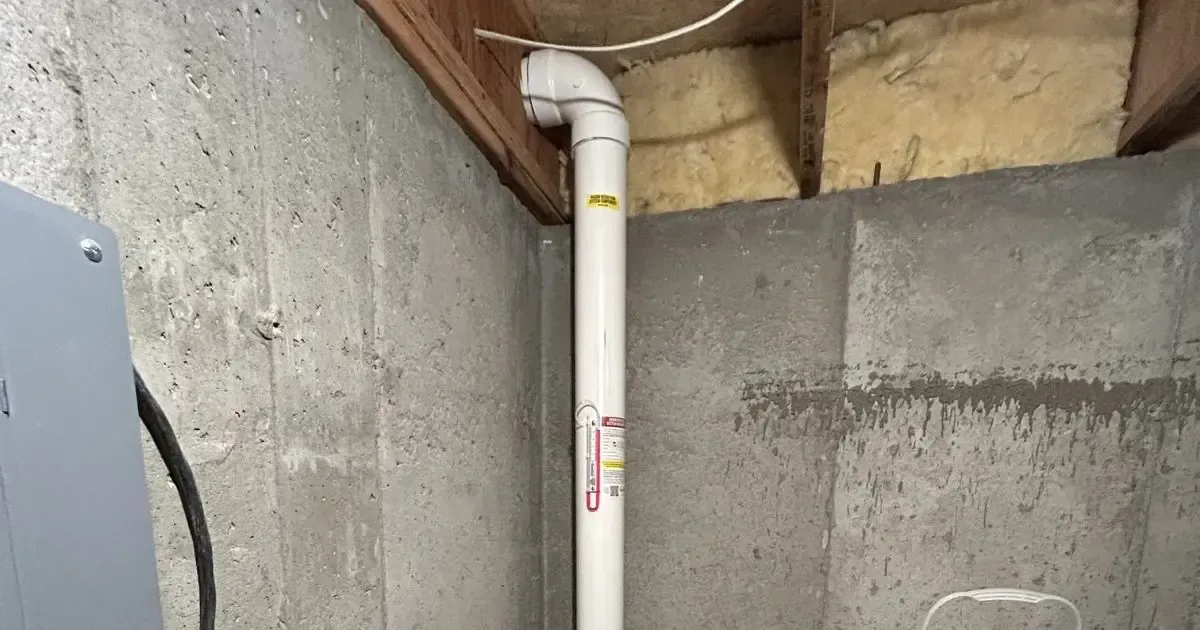
When it comes to protecting your home and family from radon exposure, the performance of your radon mitigation system is critical. Among the core components of these systems is the
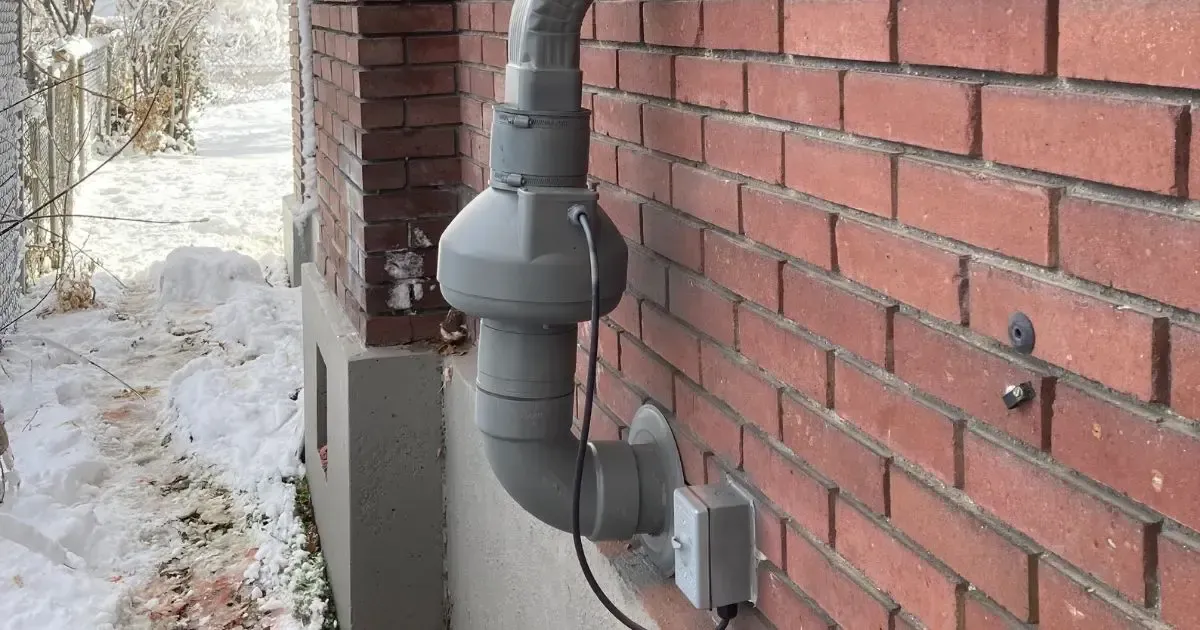
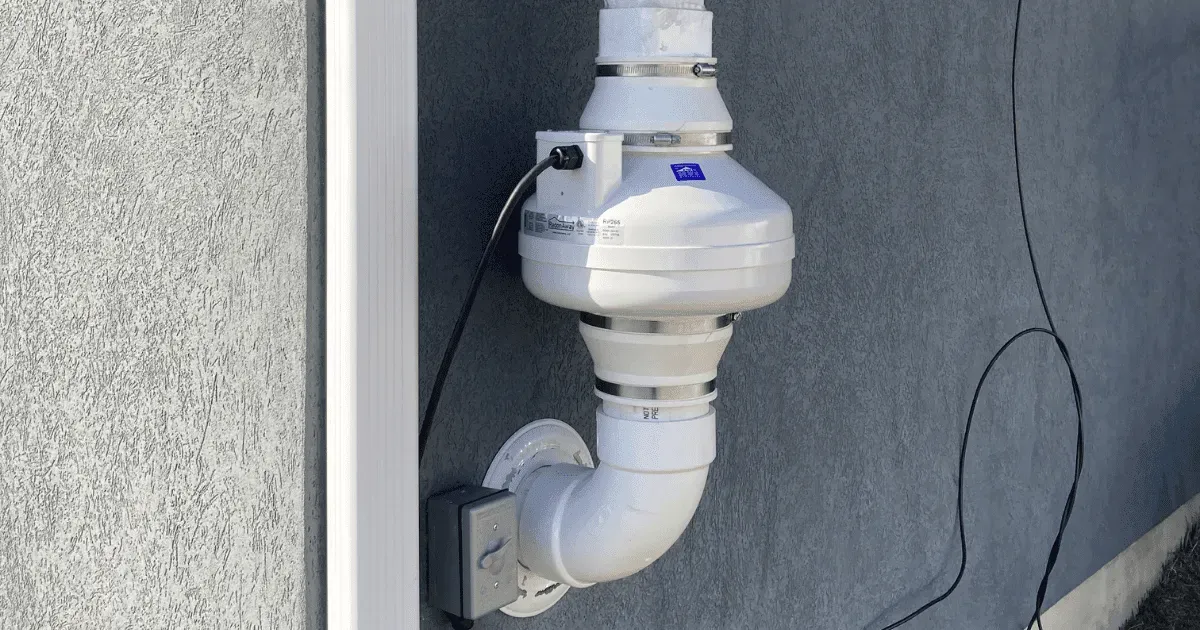
radon fan. This guide offers an in‐depth look into the cost to replace a radon fan, outlining the replacement process in detail, best practices, safety measures, and answering many common questions.
Get a Free Quote
Understanding Radon and the Importance of a Reliable Radon Fan
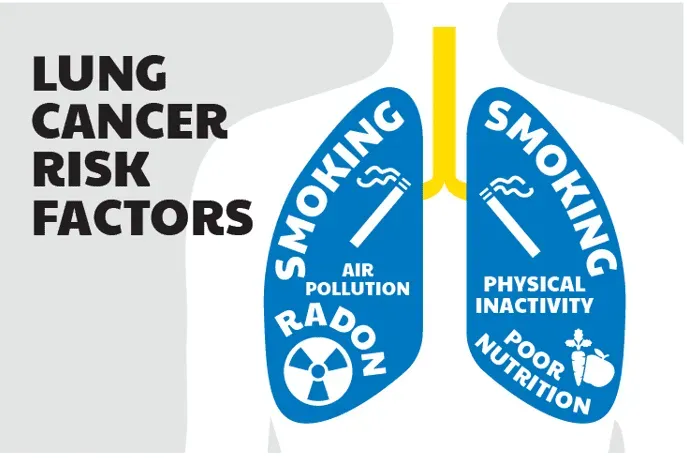
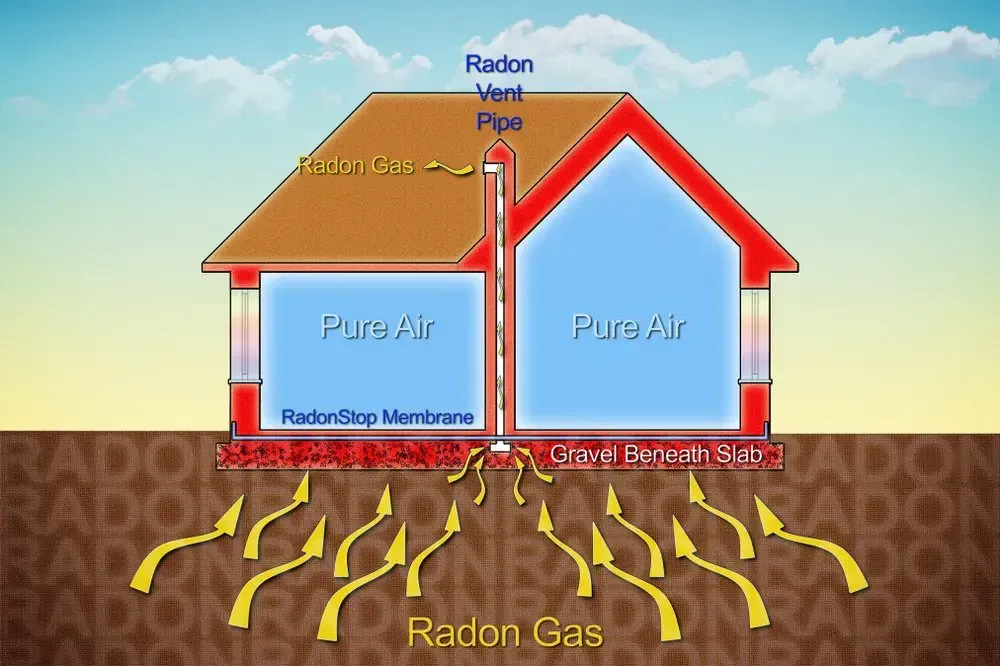
Radon is a naturally occurring radioactive gas that can seep into your home through cracks in the foundation and other openings. Elevated radon levels are linked to increased
health risks such as lung cancer. A radon mitigation system, typically installed in older homes or structures built in radon-prone areas, often relies on a radon fan to efficiently vent this gas outside.
Ensuring that your radon fan is in optimal condition helps maintain low indoor radon levels, providing peace of mind and ensuring the safety of your home environment. When a fan shows
signs of wear or failure, a timely replacement is essential not only for effective system performance but also to avoid recurring costs related to inefficiency or repeated repairs.
Estimated Costs for a Radon Fan Replacement
While actual costs can vary by location and the specifics of a property, you can expect the following approximate cost ranges:
- Basic Fan Unit: $200 to $500 for the fan itself, which is typically appropriate for smaller homes or standard usage scenarios.
- Professional Installation: Labor costs can range from $300 to $800, depending on the complexity of the job.
- Additional Materials: Extra parts and materials might cost an additional $100 to $300 if modifications or system upgrades are needed.
Collectively, the total cost for replacing a radon fan can range roughly from $600 to $1,600. For a personalized estimate, consulting with a qualified radon mitigation specialist is highly recommended.
When Should You Replace Your Radon Fan?
Many homeowners worry about unnecessary expenses related to the radon mitigation system. However, recognizing when your fan requires replacement can save you money in the long term. Consider replacing your radon fan if you experience any of the following issues:
- Unusual noises or vibrations coming from the unit
- Noticeable
decrease in performance or inability to lower radon levels
- Frequent cycling on and off
- Excessive dust or disintegration of internal components
- Wear and tear that compromises the system’s integrity
Timely replacement is strongly advised to ensure your home remains safe from radon accumulation.
Factors Affecting the Cost of Replacing a Radon Fan
The cost associated with replacing a radon fan depends on a range of factors, from the type of fan to labor charges. Below are some key factors that might influence your total expenditure:
- Type of Radon Fan: There are various models available on the market, including in-line fans,
sub-slab depressurization systems, and different horsepower ratings. Models with higher capacity or advanced features may carry a higher price tag.
- Installation Complexity: The process differs depending on how your current system is installed. Replacement in a difficult-to-reach location or integration with other systems may add to labor costs.
- Local Labor Rates: Service charges vary by geographical area. Rates in urban areas or places with higher cost-of-living will typically be higher than in rural areas.
- Materials and Replacement Parts: Additional components, such as new vent pipes or sealing materials, could be necessary during a replacement, influencing the overall cost.
- System Age and Condition: Older systems might require more extensive work, sometimes including upgrades to the overall mitigation system.
Understanding these variables can help you budget accurately and initiate discussions with service professionals.
Step-by-Step Guide to Replacing a Radon Fan
The replacement of a radon fan requires strict adherence to safety protocols and careful execution. Whether you plan to perform the replacement yourself or opt for professional assistance, understanding the process is key. Here is a detailed step-by-step guide:
1. Assessment and Preparation
Before starting the replacement process, a thorough assessment of the system is necessary. Review the following:
- Inspect the radon mitigation system for any surface damage or debris that could pose a hazard.
- Consult the system’s manual or documentation to understand the installation specifics.
- Identify any additional areas that might require upgrade or maintenance during this process.
This detailed assessment can ensure that you have all the necessary parts and tools before beginning the replacement process.
2. Turning Off the System and Safety Precautions
Safety is paramount when working with electrical components or altering structural components. Follow these precautions:
- Ensure the power supply to the radon mitigation system is completely turned off.
- Wear appropriate safety gear, including gloves, safety glasses, and dust masks if required.
- Remove any flammable materials from the immediate area to avoid accidental ignition.
These preliminary safety measures help prevent accidental injury or damage during the replacement process.
3. Removal of the Existing Fan
With safety precautions in place, proceed to remove the old radon fan. Pay close attention to:
- Disconnect all electrical connections and label them to ensure proper reinstallation.
- Detaching the fan unit from its mounting and ductwork without disturbing other system components.
- Checking the existing structure for any compromised parts that may need repair or reinforcement.
The removal step often requires moderate technical skills, which is why professional intervention might be beneficial for some homeowners.
4. Installing the New Radon Fan
After removing the outdated fan, the installation of the new unit should be performed with precision. Here is what to do:
- Secure the new fan into the mounting area, ensuring it aligns perfectly with the existing ductwork.
- Reconnect all electrical connections in accordance with manufacturer guidelines.
- Test the system to verify that the fan operates as expected and that there are no visible issues.
Once the fan is securely installed and all couplings are verified, the mitigation system may be turned on cautiously, keeping an eye out for any anomalies.
5. Final Testing and System Optimization
A replacement doesn’t end at installation. Final testing ensures the system functions optimally. Follow these steps:
- Run the system continuously for a predetermined period to monitor the fan’s performance.
- Utilize radon measurement devices to confirm that the radon levels remain within safe limits.
- Document your findings and, if necessary, make minor adjustments to optimize performance.
This testing phase is critical to confirm that the replacement has successfully restored the radon mitigation system to full functionality.
Get a Free Quote
Maintenance and Safety Tips After Replacement
Proper maintenance of your radon mitigation system is essential to ensure long-term success and safety. Consider the following guidelines for ongoing care:
- Regular Inspections: Schedule
annual inspections to verify that the fan and system components remain in good condition.
- System Performance Checks: Conduct routine checks, especially after severe weather events, to ensure that external factors have not compromised the system.
- Clean and Clear Ductwork: Ensure that ducts and vent systems are clear of debris. Blockages can reduce efficiency.
- Maintain Electrical Connections: Check wiring and connections periodically to prevent potential issues with power surges or deterioration.
- Professional Servicing: A periodic professional evaluation can help catch issues before they escalate, guaranteeing system reliability.
Such proactive measures not only extend the life of your equipment but also support a safer home environment.
Frequently Asked Questions
What is the Lifespan of a Typical Radon Fan?
A well-maintained radon fan can last between 7 to 10 years. Lifespan may vary based on usage conditions, maintenance frequency, and environmental exposure. Proactive annual checks can help gauge when a replacement is due.
Can I Replace the Radon Fan Myself?
While a skilled DIY enthusiast can replace a radon fan, the complexity and safety implications often make it preferable to hire an
experienced professional. Incorrect installation may not only reduce system efficiency but also lead to safety hazards.
How Soon After Installation Should I Test for Radon Levels?
It is recommended to
test radon levels shortly after a replacement and to perform periodic tests thereafter. Consider testing:
- One week after installation, to ensure the system stabilizes
- Every six months, monitor long-term performance
Will Replacing the Radon Fan Eliminate the Need for Further Radon Mitigation?
Replacing the fan is an important maintenance step, but it does not eliminate the need for a full radon mitigation system. The fan serves as a key component in the system and should be maintained or replaced as necessary to ensure overall effectiveness.
What Are Common Signs That My Radon Mitigation System is Underperforming?
In addition to unusual noises or decreased performance from the fan, homeowners should watch for:
- Unexpected fluctuations in internal air pressure
- Visible deterioration or icing on exterior surfaces during winter
- Inconsistent readings on radon measurement devices
Additional Considerations and Upgrades
In some cases, simply replacing the radon fan may not be enough if the mitigation system is outdated or if the requirements have changed. Consider these additional options:
- System Upgrades: Upgrading to a more
advanced mitigation system can enhance safety, improve energy efficiency, and provide smarter control capabilities.
- Integration with Home Automation: For those inclined towards modern technology, integrating radon mitigation with home automation systems can allow for remote monitoring and control.
- Extended Warranties and Service Contracts: Investing in extended warranties or service contracts can provide value in the long term, ensuring that future maintenance and repairs are cost-effective.
Discuss these options with your
radon mitigation specialist to determine what best fits your home’s needs.
Contact Radon Be Gone Now!
If you suspect that your radon fan is underperforming or if your system has aged significantly, it is time to consider a replacement. Our team of experts is ready to provide:
- Professional assessment of your radon mitigation system
- Accurate cost estimates and detailed replacement strategies
- Expert installation ensuring safety and optimal performance
Reach out to us today or call our hotline to schedule your free consultation. Making an informed decision now ensures that you and your loved ones continue to enjoy a safe, healthy living environment.
Final Thoughts
The radon fan plays an indispensable role in ensuring that your home remains a safe haven free from harmful radon exposure. Understanding the replacement process, associated costs, and maintenance tips is essential in sustaining a fully functional radon mitigation system. With this comprehensive guide, you are now armed with the knowledge needed to make informed decisions about your home’s air quality and safety.
Whether you choose to perform the replacement on your own or work with a professional, the key is to stay proactive with regular inspections and maintain a vigilant approach towards system performance. Let safety and efficiency drive your next steps, ensuring that your home environment is both secure and comfortable for years to come.
Get a Free Quote
![Blue periodic table tile for radon, element 86, with symbol Rn and mass [222].](https://le-cdn.hibuwebsites.com/09c3a4288d5947b58ca8220076f73b94/dms3rep/multi/opt/radon-periodic-table-rn-86-radon-be-gone-1920w.webp)